
Are you someone who still uses post-it notes for to-dos?
You’re not alone. For a visual person, it can be helpful to glance at those colorful notes to see what’s next in the queue. If you’ve read my post on task management here: How to Stay on Target with Your Goals, then you know that there are some visual task management systems. There are also project management systems that have returned to using post-it notes.
One of the problems with post-it notes is that your system can get messy.
If you’re very organized, then you have them on your white board in neat columns , but if you’re not, then they may be stuck all over the place. Also, you have to be in the room to see them.
If you don’t want to let go of your post-it habit, then there’s an iOS app for you, created by 3M, the maker of post-it notes. You can keep your notes and still go digital to organize them and bring them with you.
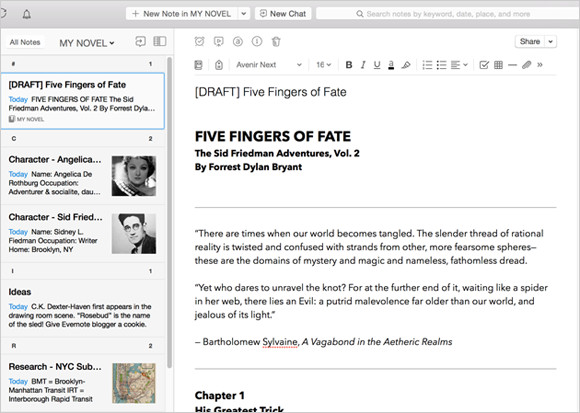
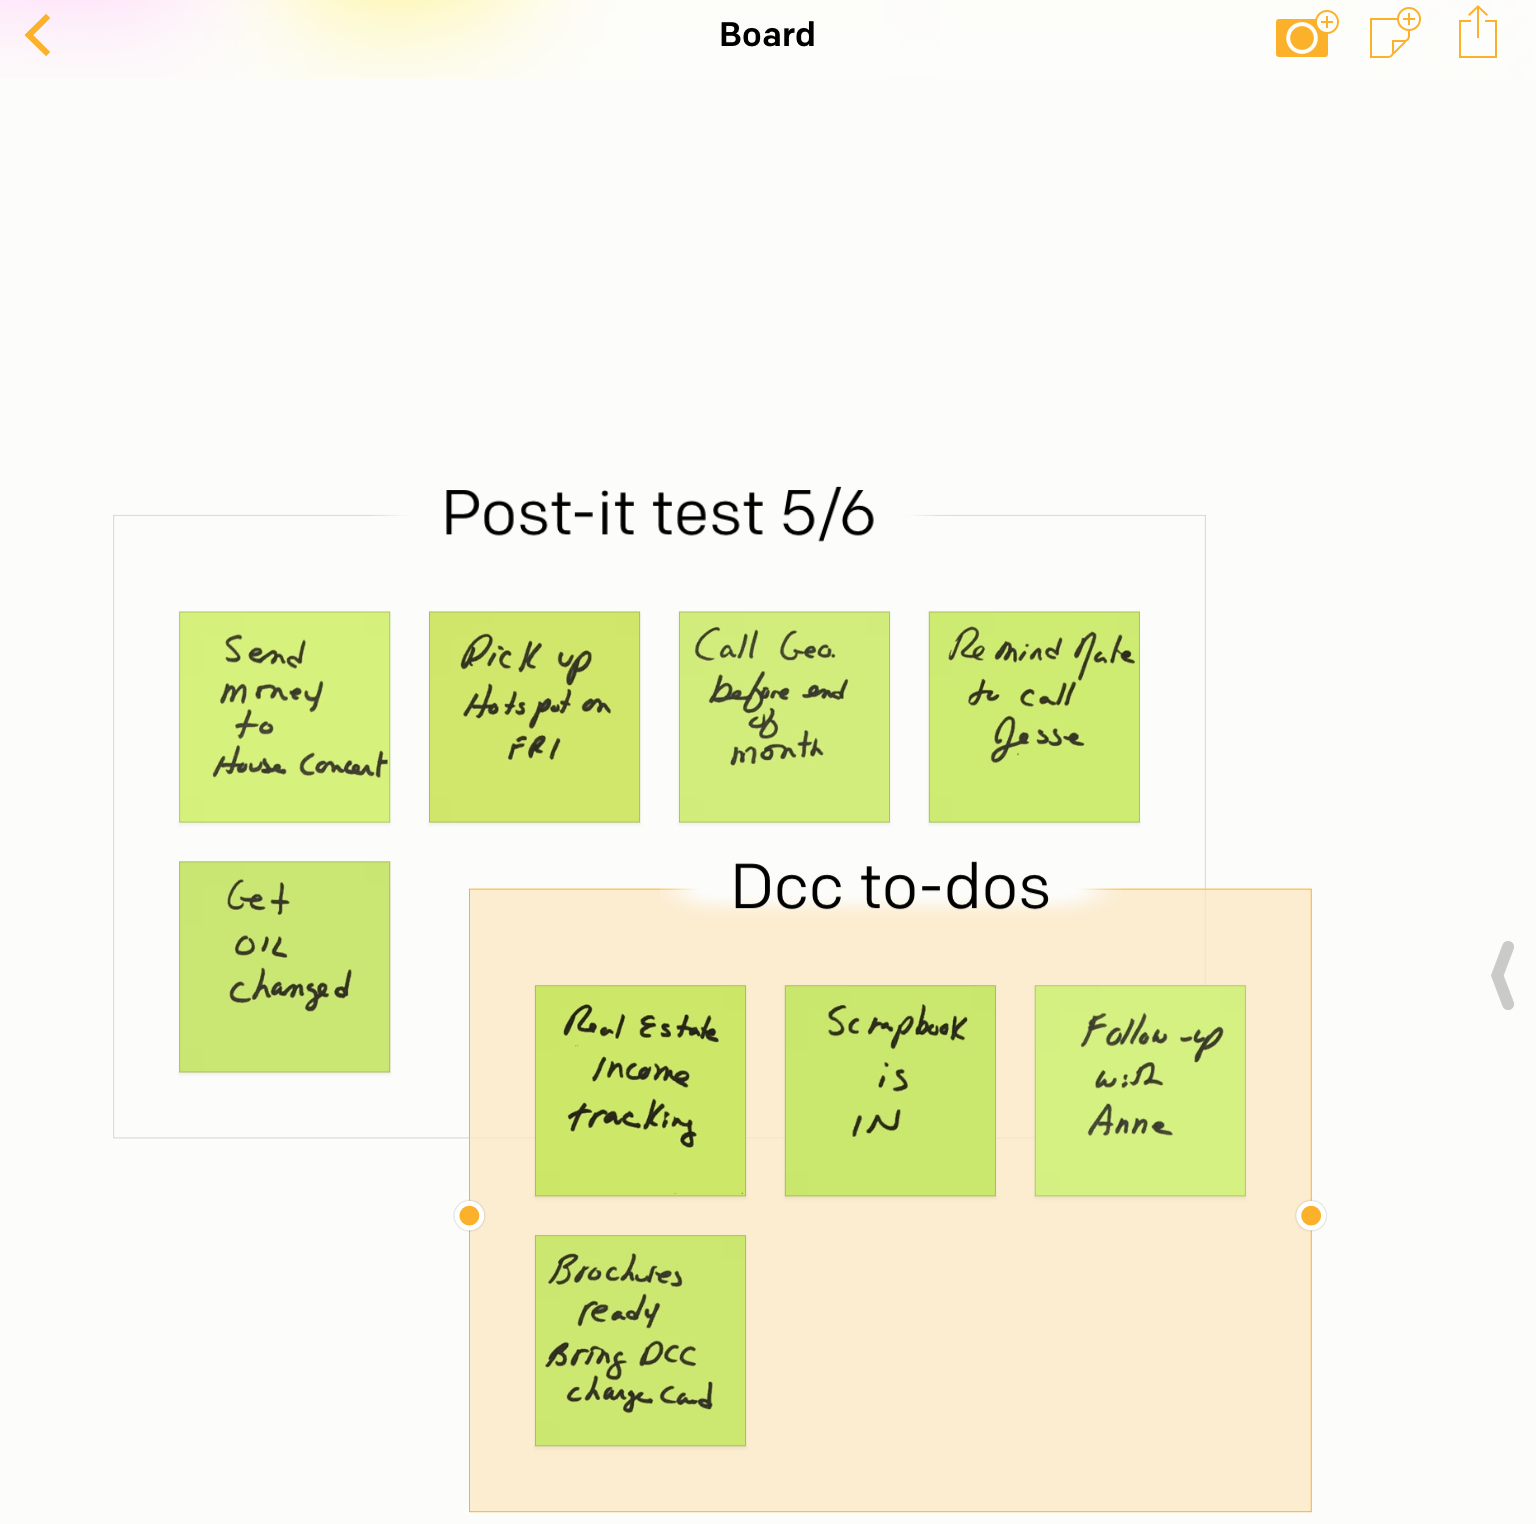
The app is called “Post-it Plus App”. First, take a picture of your notes. The app will recognize individual notes, allow you to move them around, and also create new notes.
In my screenshot example above, I started with my notes posted on a wall but not organized in any way. After I took the picture, I moved a note in the app to create a new “board”, and then organized other notes onto that board.
Now I can see at a glance my personal to-dos board, and my work to-dos board.
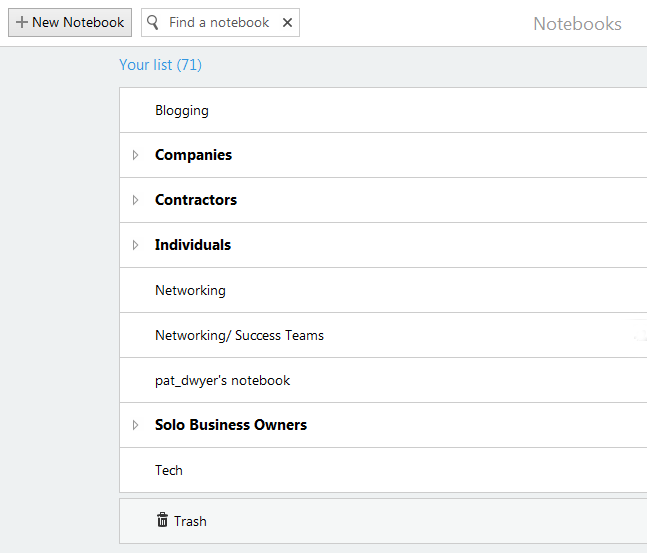
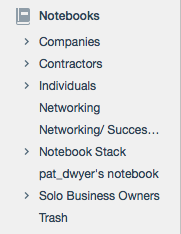
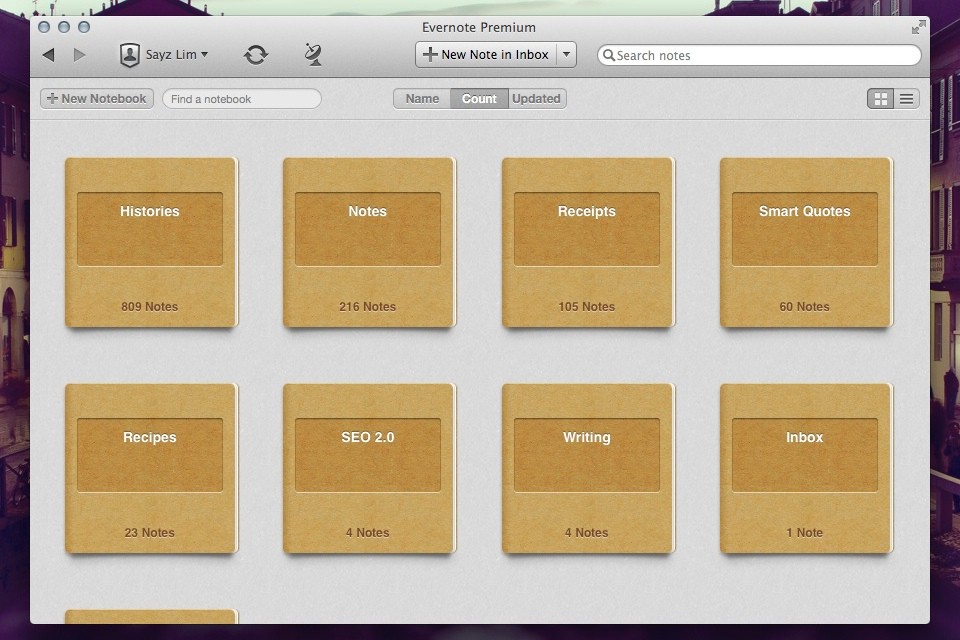
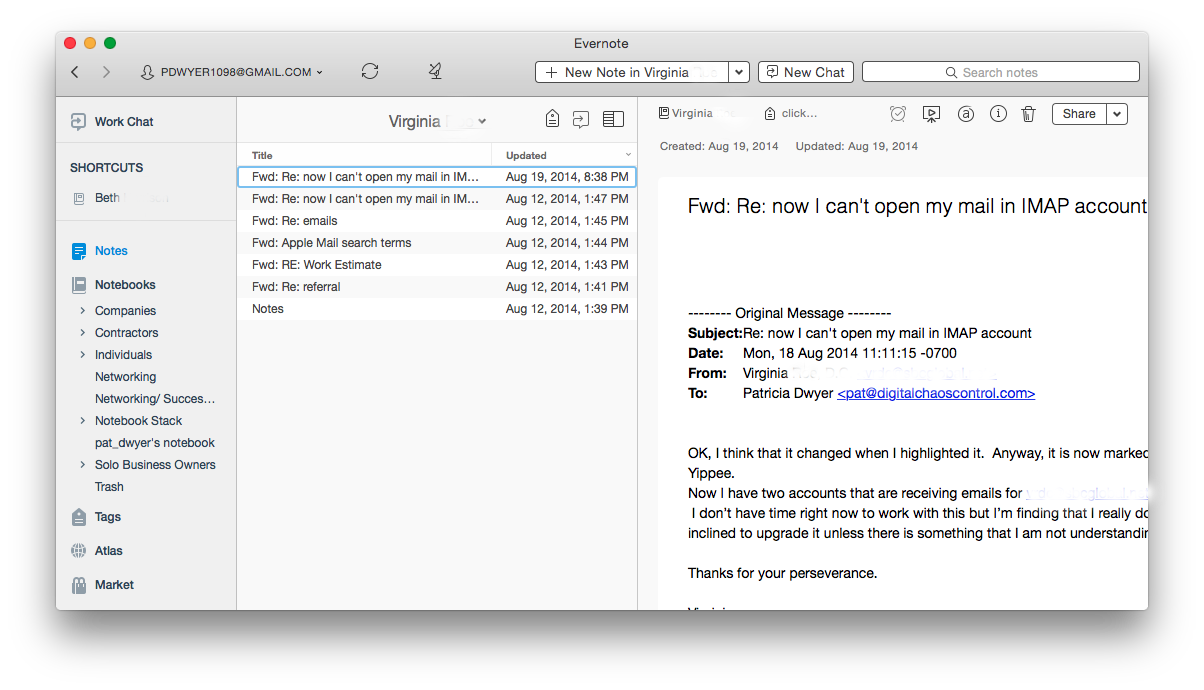
If you don’t work on an iOS device, or if you’d like a more efficient way to work with post-it notes, then consider using Evernote. Here’s a nice post about the Evernote post-it system: Evernote Post-it Notes. More information about Evernote here: Use Evernote For a New Level of Organization.
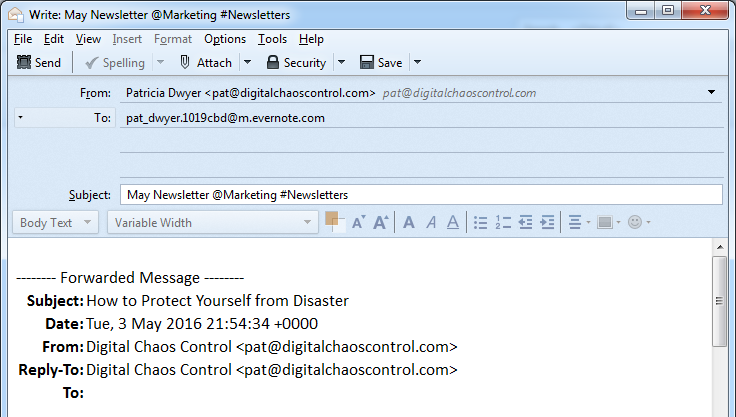
Get the “Controlling the Chaos” Newsletter and receive a free PDF download
“Drowning in Email – A Lifeline for Communications Overload”